As live streaming becomes the norm, many content creators, professionals, and businesses are looking for a way to make their feeds stand out. Free services and simple equipment are readily available, but streamers need something to give their broadcasts an extra edge to appeal to audiences worldwide.
Live streaming with multiple sources can be a game-changer. It is an excellent way to boost the production value of your online broadcasts, adding a professional touch to your content while making it more intriguing and engaging.
For live streamers looking to expand their reach and stream on multiple platforms simultaneously, simulcasting or multi-destination streaming can be the answer. Combining it with a multi-source live stream enables you to create a more captivating video production.
In this post, we will discuss professional live streaming equipment and the steps needed to live stream with multiple sources so that you can broadcast using a multi-source setup and create diverse angles with multiple cameras.
But before we go into the details of our multiple input live stream guide, let’s discuss the benefits of taking the multi-source approach.
Table of Contents
- Benefits of Live Streaming with Multiple Sources
- Use Cases for Multi-Source Live Streaming
- Equipment for Live Streaming with Multiple Sources
- What Platforms to Use and How to Use Them
- 6 Steps for a Successful Multi-Source Live Stream
- Picture-in-Picture and Multiple Simultaneous Views
- Conclusion
Benefits of Live Streaming with Multiple Sources
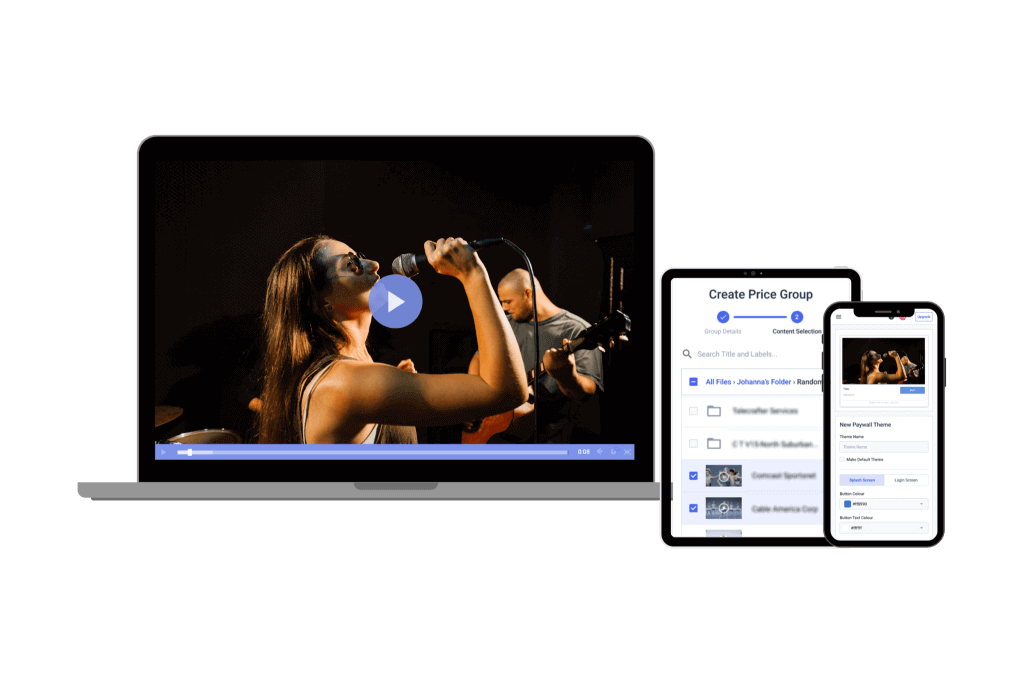
One of the key benefits of live streaming with multiple cameras is the availability of low-cost live stream production tools.
Multi-source live streaming helps broadcasters at any level of expertise produce more professional-looking broadcasts, creating a higher production value. Switching between multiple camera angles and content sources is the cornerstone of a successful, professional-grade live stream production.
TV stations, cable channels, and well-produced internet broadcasts use multiple sources for better communication and improved aesthetics.
Using multiple sources for streaming also makes it easier to add effects and pre-recorded footage. Meanwhile, you can switch between live stream sources and use one as the primary broadcast source. This gives you more flexibility for editing and adding effects on the fly.
With added complexity comes a greater need for equipment and staff. A broadcast with multiple cameras is a bit more expensive to produce, but these costs are well worth it.
Use Cases for Multi-Source Live Streaming
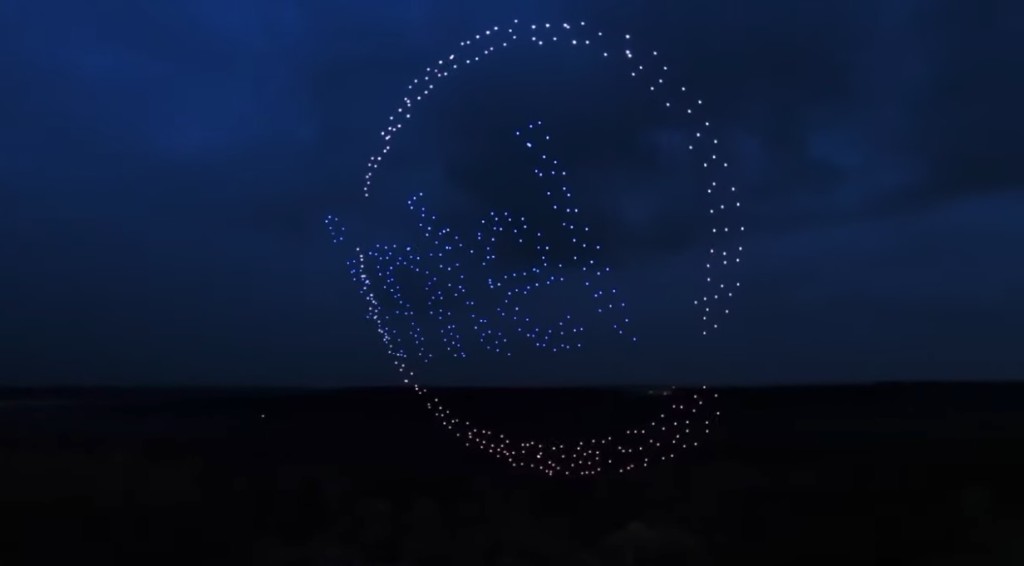
Intel’s 500 Drones Light Show used multi-camera live streaming to produce and broadcast live content during the Super Bowl.
One of the best examples of a multi-camera event in action is a sporting event like the Super Bowl. Super Bowl broadcasts have used multiple audio and video sources for live streaming for a long time. However, the latest Super Bowls have added many other sources, such as cameras mounted on drones and wires suspended above the stadium.
Additionally, multiple camera shots are used in news studio settings to provide different angles.
Most studios have at least one streaming camera set for wide shots, one for medium shots, and one for close-ups. A typical news broadcast begins with a medium shot and then switches to a wide shot, potentially followed by an up-close guest shot.
Both of these examples come from high-end productions with hefty price tags. However, multi-camera streaming isn’t limited to those with multi-million dollar budgets.
Today, the cost of complex streaming with multiple feeds has been significantly reduced, making it possible for those with small budgets to produce multi-source broadcasts.
Equipment for Live Streaming with Multiple Sources
Multi-source live streams require a little more equipment than you’d need from a basic single-camera stream.
Let’s look at the essential live streaming equipment for multi-input video production.
1. Multiple Cameras
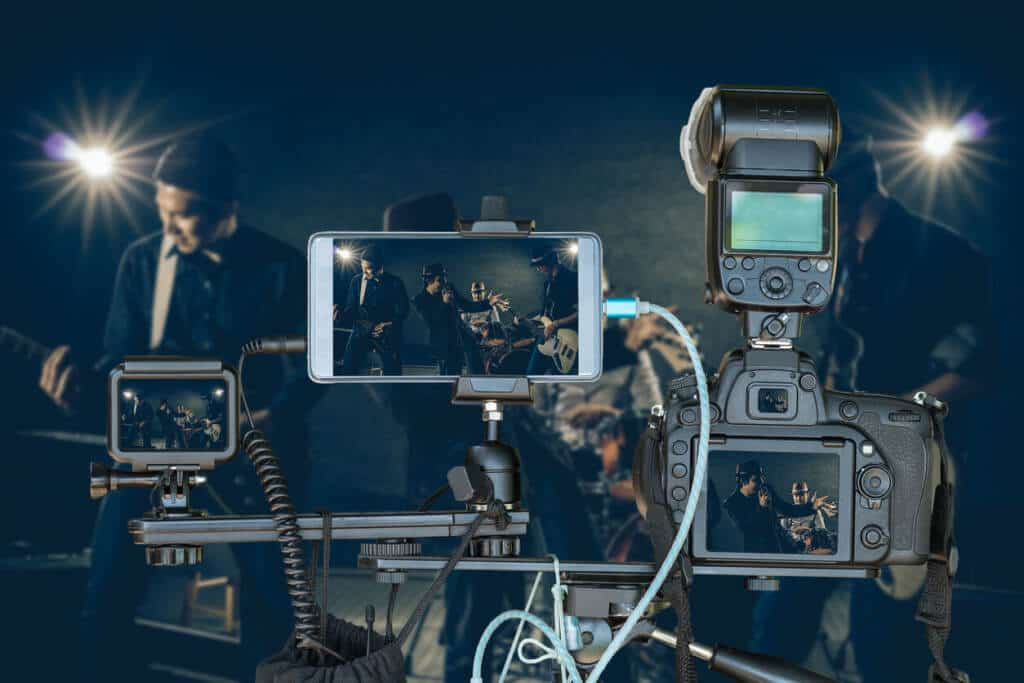
For a multi-source video shoot, you will need the same camera brand and model to ensure consistent color and resolution from all angles.
Before we discuss cameras, we want to point out that “multi-camera” and “multi-source” streaming are not the same. Streaming with multiple cameras is streaming with multiple sources. However, “multiple sources” could refer to one live camera feed and other sources with pre-recorded audio and video.
Technically, you do not need multiple cameras for live streaming with multiple sources, but you will need more than one camera if you’re using two live sources.
If you’re producing a multicam stream, we recommend using the exact same camera when possible. This ensures the same color, resolution, and dynamic range. Using high-definition cameras from different manufacturers can cause problems with footage looking different. If you must use different cameras, try to use the same brand.
Sometimes, using different cameras will be unavoidable, so thoroughly test them to ensure they are compatible.
It is possible to get the look of a multi-source shoot without using multiple cameras. For example, you can use pre-recorded video clips within a live stream. Cutting to these pre-recorded clips mixes up the visual experience. This is a cost-effective, simpler alternative to streaming with multiple video feeds.
For example, check out the innovative approach in this video below. Here, a small church uses a pair of 4K PTZ (Pan Tilt Zoom) cameras for a master 1080p HD broadcast. This enables them to use digital cropping to get the equivalent of eight camera angles.
2. Video Switching Software or Hardware
Switching is an essential component of live streaming with multiple sources. Video source switching is the process of selecting which source will be broadcast in a live feed at any given time.
Most often, broadcasters use encoding tools that offer switching features, which come in both hardware and software versions.
Hardware switchers tend to be more robust and reliable but are also more expensive. A live streaming hardware switcher connects video sources directly to a panel or rack-mounted unit (usually via SDI or HDMI, sometimes via Ethernet). A display panel is either built-in or connected externally. Buttons on the device allow the operator to switch between sources instantly.
Software switchers are usually integrated into live-streaming applications like OBS Studio, Wirecast, vMix, and more. These applications are installed on a computer and can then be controlled via a standard mouse and keyboard interface.
Software switchers are more affordable but less robust. Don’t let that discourage you, as they can work excellently. However, if you do use a software switcher, install it on a powerful computer.
3. Mobile Streaming Tools
An app like Teradek’s Prism Mobile video switcher allows broadcasters to live stream video from multiple iPhone and iPad sources and perform live stream scene switching.
Switching a multi-camera live video broadcast using mobile devices wirelessly is possible. Considering that a full broadcast studio was the only option for performing this feat a few years ago, it’s pretty remarkable how fast the technology is evolving.
Using a professional-grade camera is ideal, but the ability to stream from a smartphone or tablet is valuable if you want to incorporate live content from a remote location. This is especially valuable for new crews that often need to act fast with on-site recording and perform real-time video switching.
For a great mobile option, consider Teradek’s Prism Mobile. This app allows you to mix multi-camera live streams from an iPhone or an iPad.
Other similar options are Final Cut Pro for iPad and Switcher Studio.
4. Camera Capture Card or Device
If you’re running a software switcher, you’ll need a camera capture device. This connects to your camera (usually via SDI or HDMI) and imports the video signal. Capture devices usually come in two formats: cards that slot into desktop computers or boxes plugging in via USB, Thunderbolt, or other connectors.
Two popular manufacturers of capture devices for a professional live stream setup are Black Magic Design and Matrox. When streaming with multiple cameras from one location, you only need one capture card. If you are streaming from multiple locations, you will need several capture cards or devices.
5. Non-Camera Sources
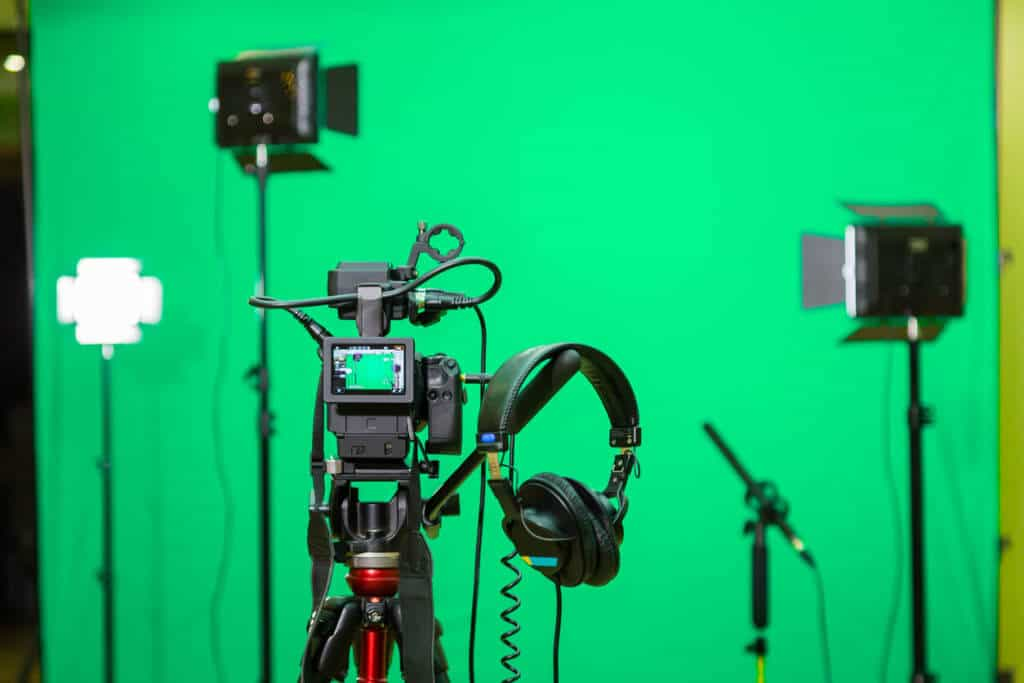
A chroma key is a solution for shooting a video before a blank green (or blue) screen background and then replacing that screen with another background.
Specific non-camera sources can be added to live streams as well. Other sources for live streaming workflow automation include:
Any switching software or hardware platform has a method for inserting this sort of content with minimal fuss. Usually, switching to a non-camera source is as simple as hitting a button or selecting content. Overlaying titles, graphics, or other material is straightforward, as well. Broadcasters can add multiple sources to the live stream to produce more captivating content.
AI studios allow streamers to create an avatar, write AI video scripts, and set the background. The digital avatars can be adjusted to interact with the audience, making this option ideal for live shopping streams.
Live Streaming Platforms and How to Use Them
To live stream with multiple sources using OBS Studio and Twitch, the setup involves capturing video from different inputs (like cameras, screen captures, or media files) in OBS Studio. You can switch between these sources manually or automatically. OBS provides a user-friendly interface to manage multiple sources and allows you to apply transitions, effects, or overlays for a professional look.
Still, streaming with multiple feeds provides the best results when combined with simulcasting to multiple platforms or multistreaming. Let’s see how you can use these platforms.
Multistreaming
OBS Studio is the core software for managing and broadcasting multi-input video production. It allows you to capture video and multiple audio sources for live streaming, mix them with different sources, and send them to various platforms. OBS is an open-source solution, meaning it is highly customizable, including integrations for multistreaming.
Twitch supports gaming (online and offline events), podcasts, and other types of live broadcasts under its Food and Drink and Creative categories. It’s a popular platform among gaming and esports enthusiasts. Through OBS Studio, you can configure your Twitch stream by linking your Twitch account and setting the stream key.
Dacast and Restream are designed to make multistreaming easier without complex setups. Restream connects to OBS Studio through a custom RTMP server setup, allowing the user to broadcast the same stream to Twitch, YouTube, Facebook, and others simultaneously. Dacast also offers multi-platform streaming but integrates features like monetization, which is ideal for professional broadcasts.
How to Use OBS Studio
In an OBS Studio stream to multiple platforms, RTMP (real-time messaging protocol) is crucial. It establishes a stable, low-latency connection between your local server and platforms like YouTube. By sending the stream via RTMP, you can send your content to several services and ensure a real-time broadcast to multiple destinations.
FFmpeg works in conjunction with OBS Studio to provide advanced streaming capabilities. FFmpeg can re-encode streams, so you can customize the resolution and bitrates for different platforms and maintain a single feed through OBS Studio. This integration gives broadcasters smooth, multi-platform streaming without much loss of quality or increased bandwidth demands.
Here’s a breakdown of the process:
- Set up a local RTMP server: First, you need to set up a local RTMP server, such as MonaServer for Windows, which will act as a hub for sending your stream to multiple platforms simultaneously.
- Configure OBS Studio: In OBS Studio, go to the streaming settings and select “Custom” for the streaming service. Enter the local RTMP server’s URL in the “Server” field to route your stream through this local hub.
- Use FFmpeg for stream replication: To send your stream to multiple platforms, you’ll need FFmpeg. You can either copy the stream without reencoding to preserve quality or reencode it if needed. This step enables simultaneous broadcasting to different platforms like YouTube, Twitch, and more.
6 Steps for a Successful Multi-Source Live Stream
As we mentioned, multistreaming with multiple sources is a bit complex, but it is not impossible. In fact, with the right preparation and guidance, multi-source streaming isn’t hard at all. We
Here’s how you can get started in 6 steps.
1. Plan Ahead
A live stream with multiple sources requires some extra planning and strategy. Ensure you obtain and prepare all the sources and live video mixing software ahead of time to avoid confusion at the time of your event.
As you prepare, familiarize yourself with all the live video integration tools and stream synchronization tools you will use. This way, you won’t be learning on the fly.
Keep in mind that you should always stream for your target audience. Consider your audience’s wants, likes, and needs as you prepare the sources for your live stream. Thinking about your audience will help you create a multi-view streaming experience your audience will enjoy.
2. Strategic Setup
Camera operators and techs should arrive early and begin setting up well in advance to choose camera angles and a location for the studio/switcher.
Your streaming setup should be designed to create the most high-quality content and make everything easy for you as a broadcaster to access.
Also, make sure you tape cables securely so that nobody trips. This may sound simple, but a rogue wire can really mess things up in the middle of a live stream. Having a strategic setup is essential for a multiple-camera streaming experience.
3. Test Run
Conduct a full live-streaming test. Set up and test the streaming encoder setup, computers, and switchers with the cameras. Make sure the whole equipment operates flawlessly.
We recommend testing at least twice and on multiple end-user devices. This helps you to dodge any avoidable roadblocks or mistakes. A test run is essential for success with multiple live stream video inputs.
4. Pre-Event Streaming
Starting the main event live stream well before the event begins is a wise approach. Showing an animated graphic, perhaps with a countdown, is one way to go.
This allows you to get everything up and running before you start the live event and provides a buffer to deal with any last-minute issues. Your viewers can join early, so everyone is present when your live stream begins.
5. Switching Sources
When the event begins, the switch operator switches to a camera view, and you’re live. Throughout the show, switch between multiple cameras to provide several views. The switcher controls the simultaneous live video sources.
Ideally, each camera records its own feed to local storage. The main program feeds also records (locally, via OVP, or both).
6. Post-Event Streaming
When the event ends, leave the live stream to run for a few minutes, with another graphic showing on the screen. This graphic could include a call to action or options to purchase the event recording. If you record the live stream, you can also turn it into a video-on-demand after the live streaming.
For additional details, you can check out our tutorial on how to use several video sources with the OBS Studio multi-source setup.
Picture-in-Picture and Multiple Simultaneous Views
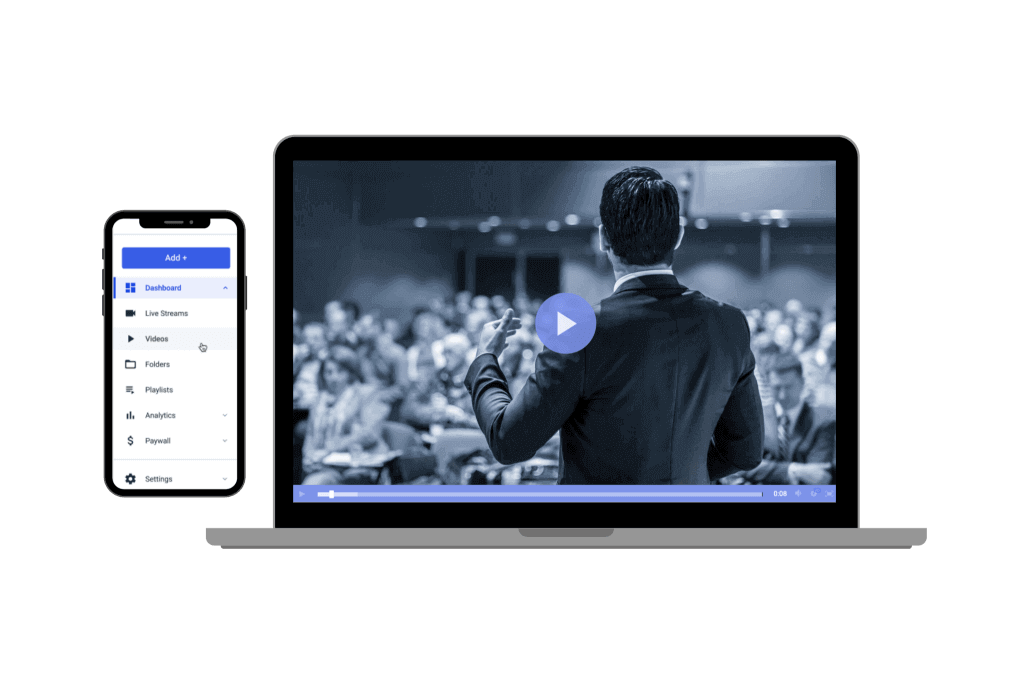
With advances in technology and solutions, it is now more possible than ever to stream any event or broadcast using multiple sources, even from mobile devices.
Another type of multi-source live streaming is picture-in-picture. This is when you have multiple video feeds on one screen. A stream with video overlays is ideal for sports and many other scenarios. Similarly, streaming a multi-source collage is a viable approach. It may have more limited uses but can be excellent for showing multiple simultaneous views of the same event.
Every live streaming software encoder, and most hardware encoders, make video mixing for live streams and adding effects possible. When using OBS Studio or Wirecast, for example, you can individually scale, resize, position, and layer. This allows you to create a picture-in-picture effect, or merely display multiple camera feeds on screen simultaneously, providing a more engaging experience for your viewers.
Conclusion
Choosing to stream live video from multiple sources is a great way to make your broadcast more professional. With the right equipment and careful planning, you can create a live stream with multiple sources and deliver dynamic content to your audience.
Are you interested in multi-camera live streaming? What’s holding you back? Or, if you’ve already started, what lessons have you learned? What works well with your live streaming platform, and what challenges have you encountered?
Here at Dacast, we’re proud to offer a range of high-end features, including monetization options and China video hosting, at very competitive prices. Also, you can read more about our pricing plans and how to customize the right plan to your needs.
Ready to produce a live stream with multiple sources? Try the Dacast video platform free of cost with our 14-day free trial (no credit card required) and explore how streaming with multiple video feeds and simulcasting can expand your reach. Just click the button below!
Looking for regular tips for live streaming, exclusive offers, and other community support? Feel free to join our LinkedIn group.
Thanks for reading, and good luck with your live streams!


